
Last updated November 22, 2026
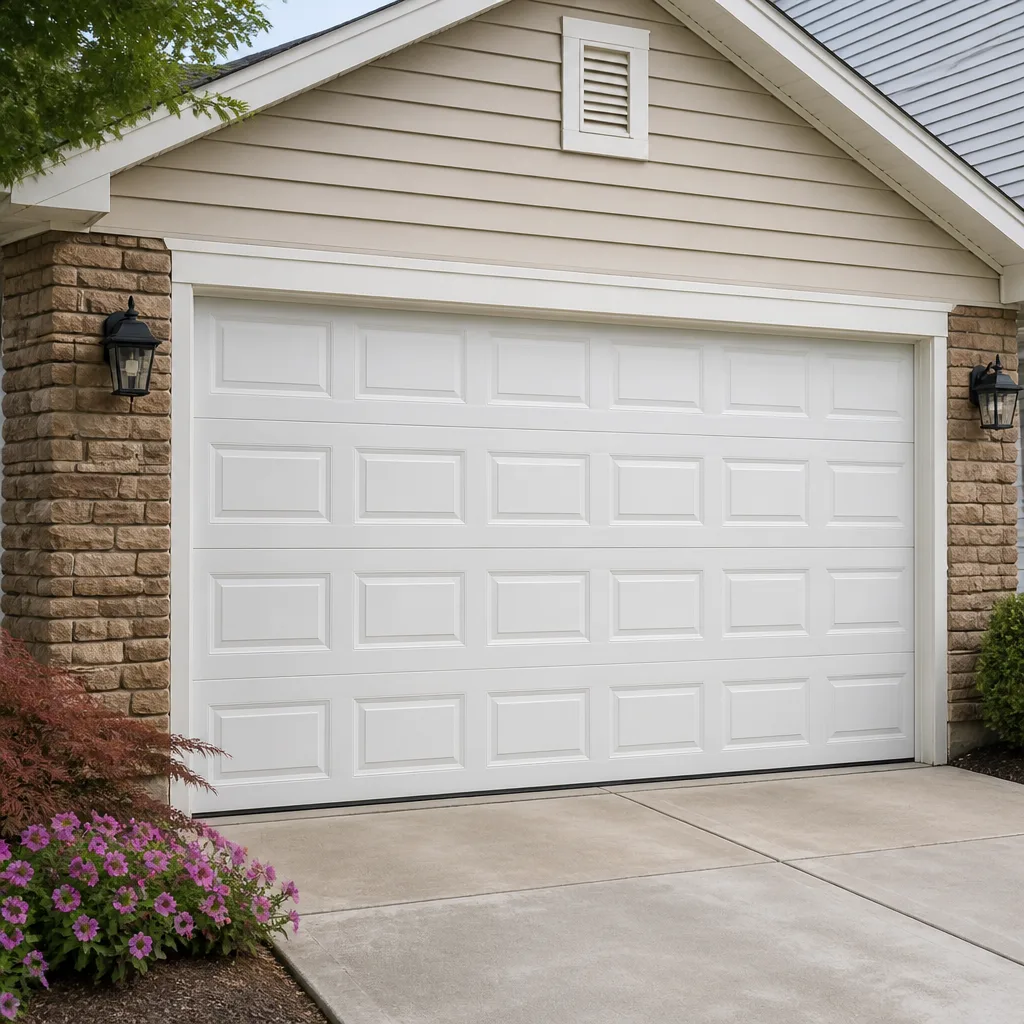 Raised-panel steel
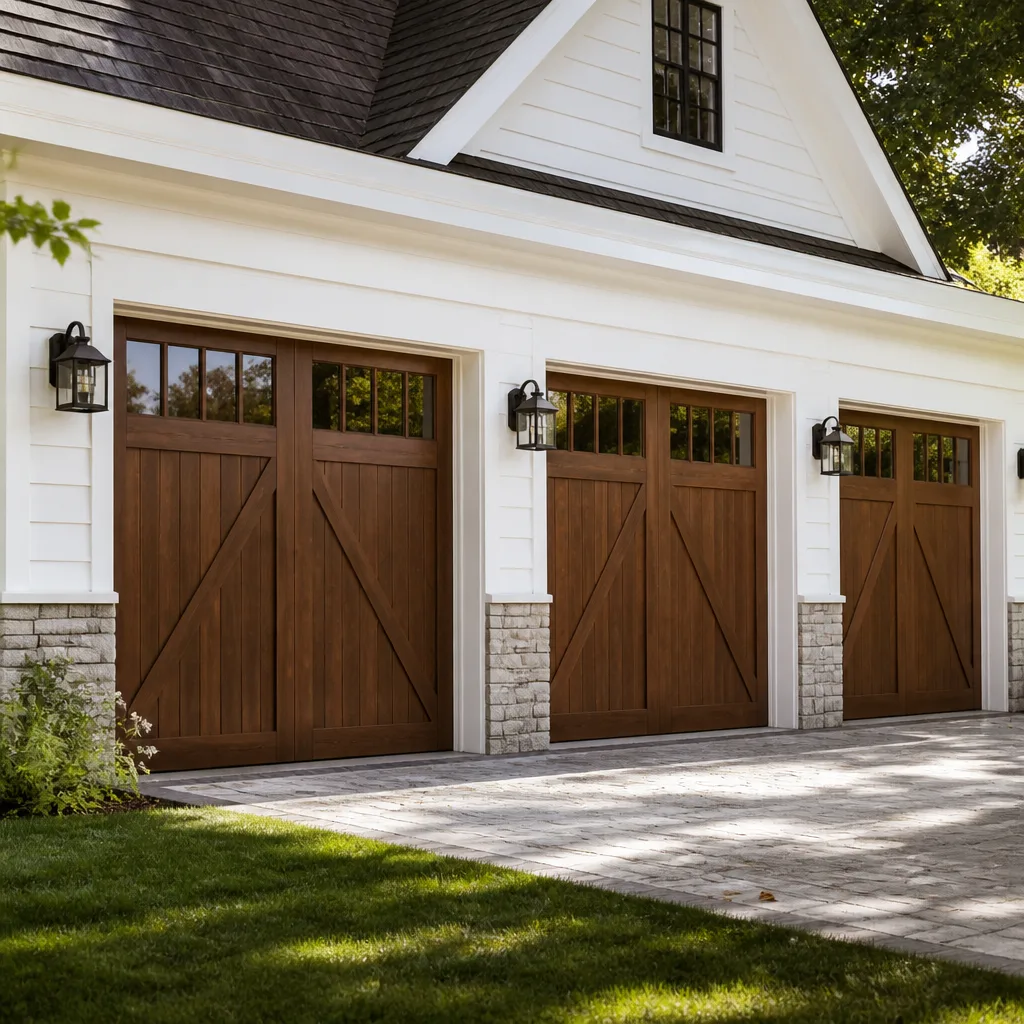 Carriage house
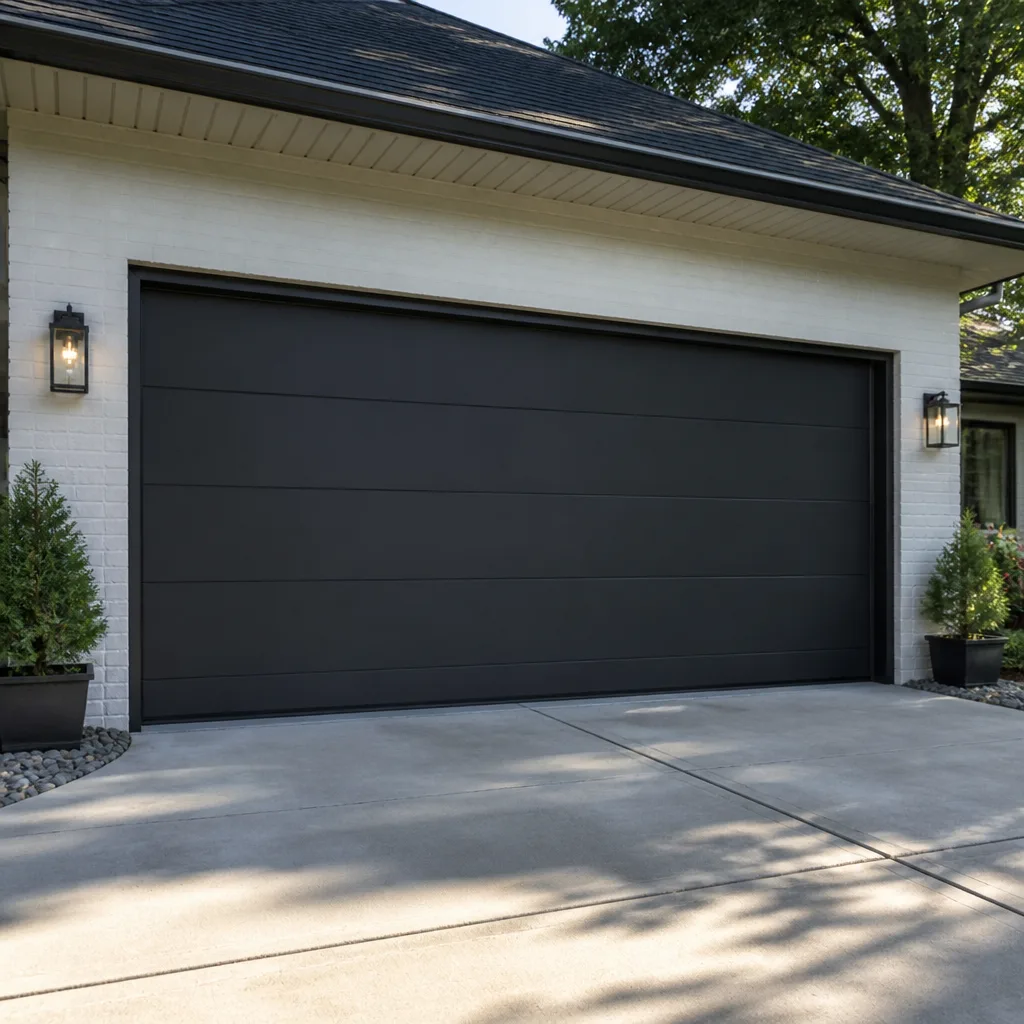 Modern flush
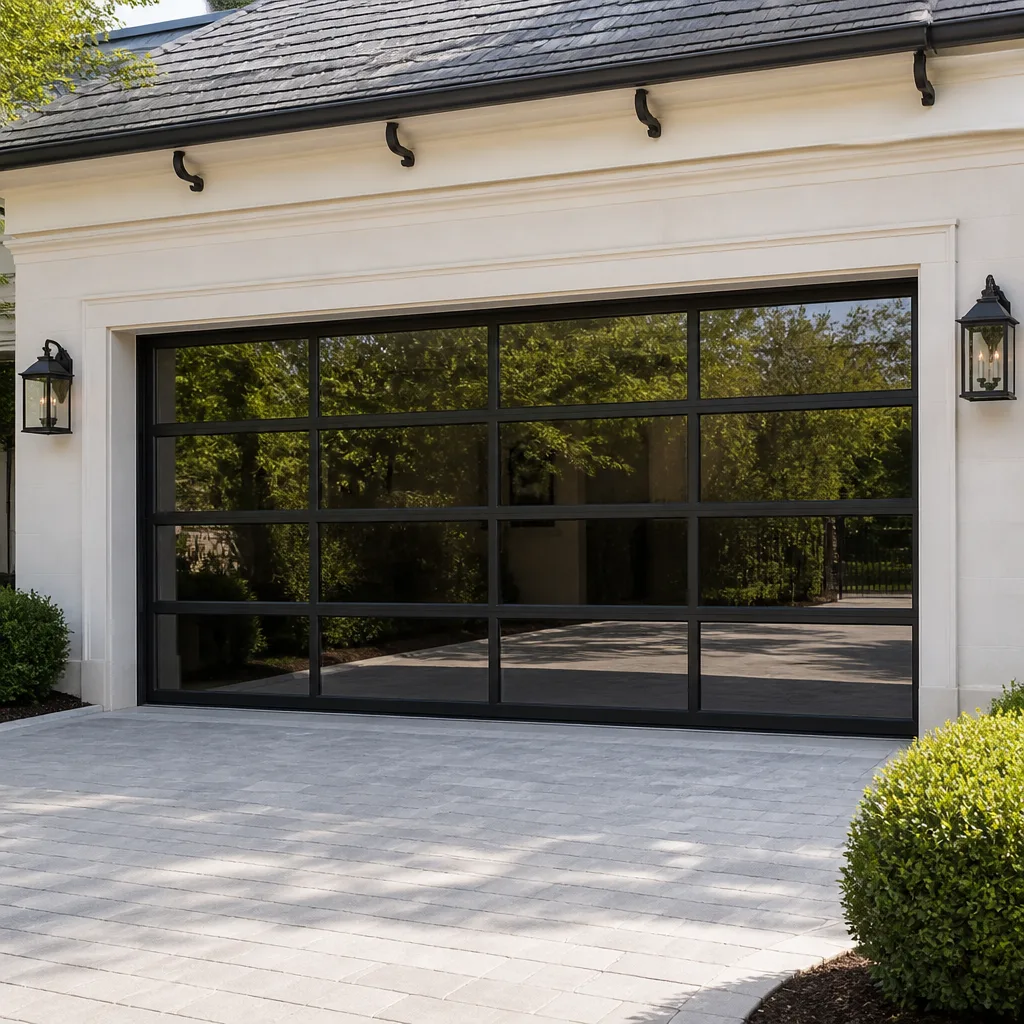 Full-view glass
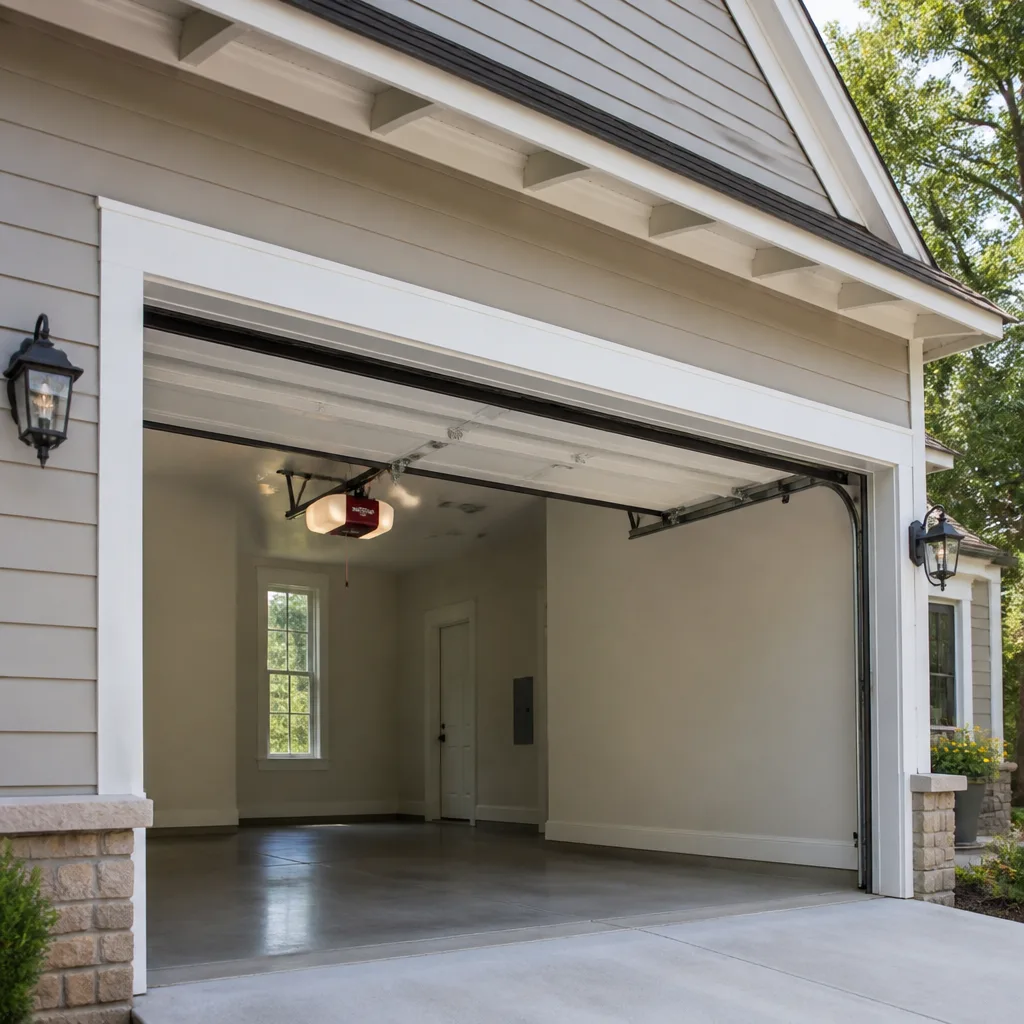 LiftMaster openers
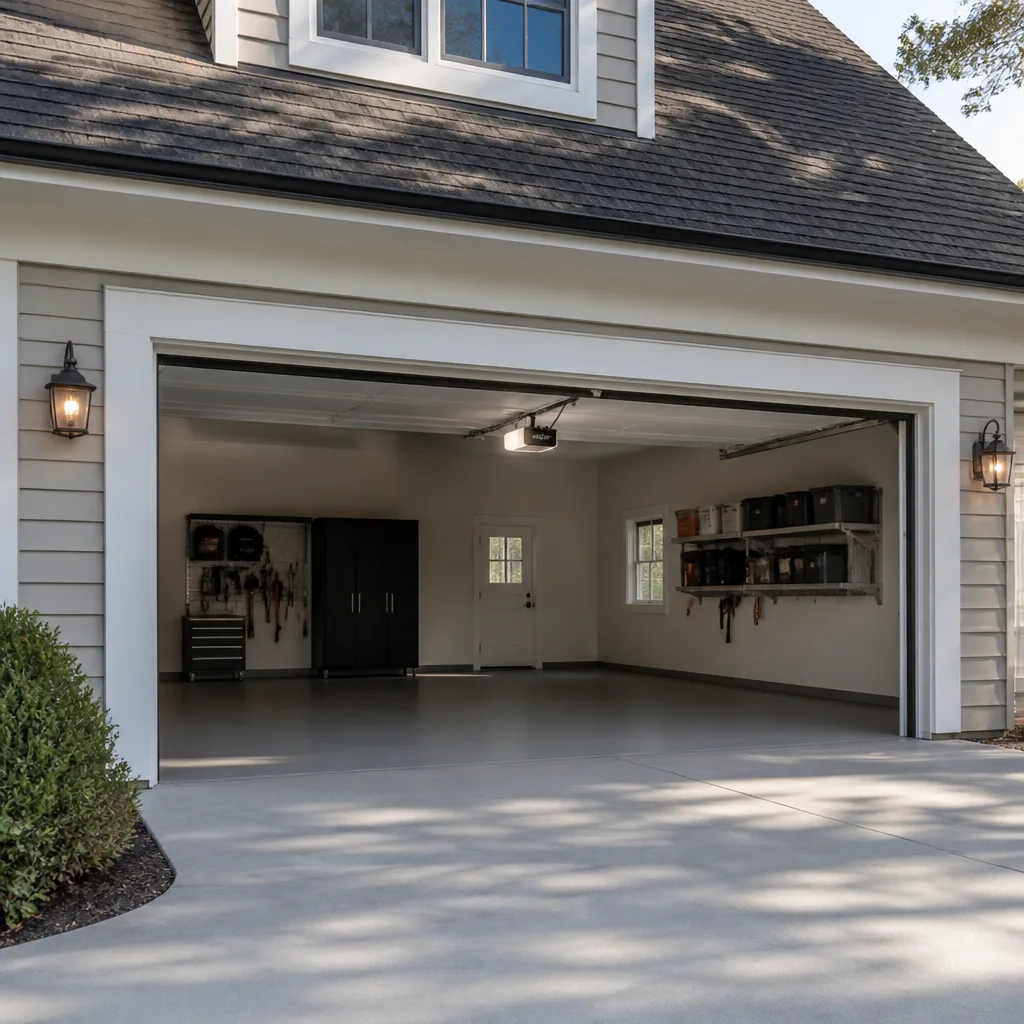 Chamberlain openers
Full 25-point door and opener safety check with every visit - springs, cables, rollers, tracks, and your LiftMaster or Chamberlain opener included
You get a price before we start. It does not change when the pro arrives.
Get your free estimateGarage Door Repair Maintenance Checklist for Oceanfront Homeowners
The number-one call we get after a storm isn’t a broken spring or a snapped cable. It’s a door that was already mostly worn out, and the storm just finished the job. That pattern holds across Oceanfront because humidity works on every moving part slowly and quietly, long before most homeowners notice anything wrong. This guide is a working checklist organized by how often you should run it: monthly, quarterly, semi-annual, and after a storm. You’ll learn what to inspect, what to look past, and the specific findings that mean stop and call a technician instead of opening a browser tab for a video tutorial.
Quick Answer
A garage door maintenance checklist for Oceanfront homeowners should combine a monthly visual sweep, a quarterly balance and travel-limit test, a semi-annual lubrication and hardware-tightening pass, and a post-storm inspection. The parts that matter most in Oceanfront humidity are torsion springs, bottom brackets, and roller stems, which corrode faster here than on inland homes. Any finding involving springs, cables, or brackets is a stop sign: call a technician rather than repairing it yourself.
Styles & brands we work with
- Raised-panel steel
- Carriage house
- Modern flush
- Full-view glass
- LiftMaster openers
- Chamberlain openers
Table of Contents
- Why Your Garage Door Needs a Checklist in Oceanfront
- The Monthly Inspection (15 Minutes)
- Quarterly Balance and Safety Tests
- Semi-Annual Lubrication and Hardware Pass
- Post-Storm Inspection Checklist
- Reading the Corrosion Signals on Springs, Brackets and Roller Stems
- Which Lubricants Work in Oceanfront Humidity, and Which Make It Worse
- The Stop Signs: When a Checklist Item Means Call a Technician
Why Your Garage Door Needs a Checklist in Oceanfront
A garage door is the largest moving assembly on a house, and it runs on a handful of parts that wear on a schedule. Springs cycle, rollers grind, cables fray, hinges loosen. None of that happens overnight. What happens overnight is the failure: a spring that was already fatigued finally lets go, or a bracket that was already soft finally pulls free. Maintenance is how you catch the wear before it turns into the failure.
Oceanfront humidity changes the rhythm. Every unpainted steel surface, every open bearing, every roller stem spends far more of the year in damp air than it would inland. That speeds up corrosion on exactly the parts that carry load: torsion springs, bottom brackets, cable drums, and the stems that hold the rollers. A homeowner who inspects a few times a year will usually spot the first signs of trouble before the door starts acting up. A homeowner who inspects never usually meets the problem on the morning the car needs to get out.
There’s a second reason this matters in Oceanfront. The housing stock here is a mix of older construction and newer builds, and the doors vary from legacy manual systems to smart openers from LiftMaster and Chamberlain. Each has slightly different maintenance needs, but the underlying failure sequence is the same. The checklist below is built around that sequence.
What This Guide Covers
- Four inspection intervals, each with a clear purpose
- The specific parts that fail first in Oceanfront humidity
- Balance, travel-limit, and auto-reverse tests you can run without tools
- Lubricants that help and the common products that make corrosion worse
- The findings that mean stop and call a trained technician
If at any point you find a problem you don’t want to handle, our Garage Door Repair Oceanfront team can diagnose it in person, and we work on the brand you already have rather than steering you toward replacements you don’t need.
The Monthly Inspection (15 Minutes)
The monthly pass is a visual sweep. You’re not fixing anything. You’re looking for changes since last month: new noises, new rust, new slack. Fifteen minutes with a flashlight, done in daylight with the door closed and the opener unplugged, is enough.
- Look at the torsion spring. Check the full length of the coil for rust spots, dark pitting, or a visible gap in the coil that wasn’t there before. The torsion spring carries the whole weight of the door, so any change to it deserves attention.
- Check the bottom brackets. These sit at the lower corners of the door and connect the lift cables to the bottom panel. Look for rust blooming around the bolts, cracked metal, or cable ends that look frayed near the bracket.
- Examine the roller stems. Run your eyes down both sides of the door and look at where each roller meets its hinges. A stem that looks orange or has visible flaking is on its way out.
- Walk the track. Look for dents, bends, or anything sitting against the track (a stored ladder, a bike, a box). Tracks don’t need to be touched, just inspected.
- Glance at the hinges. Loose screws are the most common cause of rattling doors. Tighten any that turn easily.
- Look at the weather seal at the bottom. A seal that’s cracked, torn, or sitting off the ground lets water and pests in and pushes against the door when it closes.
- Listen. Open and close the door once. Note any new squeak, grind, or hesitation. Noises are the earliest warning you get.
Write down anything you see and compare against the previous month. Pattern recognition is where the checklist pays off. If you find something in the inspection that feels beyond a visual check, our garage door repair service covers diagnosis and repair across all common brands.
Quarterly Balance and Safety Tests
Every three months, run three tests that check how well the door and opener are working together. None requires tools, and all three can be done in under ten minutes. Do them with the opener disconnected from the door (the release cord is at the opener rail) unless the step says otherwise.
1. The Balance Test
- Close the door fully.
- Pull the release cord to disconnect the opener.
- Lift the door by hand to about waist height.
- Let go. The door should stay put or move only slightly.
- Close it by hand and reconnect the opener.
If the door drops on its own when you let go, or won’t lift without a fight, the spring is out of balance. This is a stop sign. A torsion or extension spring under tension can cause serious injury if it’s handled without proper tools and training. Don’t try to adjust it. Call a technician.
2. The Travel Limit Test
With the door reconnected, open and close it fully and watch where it stops. The door should sit flush with the floor when closed and level with the header when open. If it reverses before reaching the floor, hits the floor and bounces, or stops short of the top, the travel limits need adjusting. On a LiftMaster or Chamberlain opener this is usually a dial or programming step, and it’s a task we’d rather see done once correctly than adjusted repeatedly by trial and error.
3. The Auto-Reverse Test
Place a roll of paper towels or a flat board about two inches thick on the ground in the center of the doorway. Close the door using the opener. The door should reverse within two seconds of contacting the object. If it doesn’t reverse, or reverses only sometimes, the safety system isn’t working and the door should not be run until it’s fixed. A door that closes on an object without reversing is a hazard, especially in a home with kids or pets.
If any of these three tests fails, that’s the moment to call. Our garage door opener repair team can sort out travel limits, safety sensors, and opener boards in one visit, and we service virtually every common opener brand on Oceanfront homes.
Semi-Annual Lubrication and Hardware Pass
Twice a year, ideally before and after the heaviest weather months, give the moving parts a proper going-over. This is where most garages go one of two ways: nothing gets lubricated and parts seize, or the wrong product gets sprayed everywhere and the problem accelerates. What follows is the correct routine.
What to Lubricate
- Hinges. One drop of a garage-door-rated lubricant at each hinge pivot.
- Rollers. Apply to the bearing, not the tire. A light film is plenty.
- Torsion spring coils. A thin film across the coil helps slow surface rust. Never try to open the coil or move the spring while lubricating.
- Track curves. A light wipe along the curved section near the top of the track where rollers transition from vertical to horizontal.
- Opener rail and chain (if equipped). Use the product the opener manufacturer recommends. Belt-drive openers don’t need chain lubricant.
What Not to Lubricate
- Tracks. Tracks are guides, not bearings. Lubricant attracts grit and can make rollers slide instead of roll, which throws the door out of alignment.
- Photoelectric eye lenses. Wipe with a dry cloth, nothing else.
The Hardware Check
- Working from the bottom up, check every hinge bolt and tighten any that turn easily.
- Check the bolts on the track brackets that attach the vertical track to the wall.
- Check the lag bolts holding the opener rail to the ceiling.
- Look at the cables running down each side. A frayed cable is a stop sign. Don’t touch it beyond a visual look.
- Check the bottom weather seal and replace it if it’s torn or no longer touching the floor.
Fifteen minutes twice a year keeps a door running quietly for years and flushes out the small problems before they become expensive ones. If you find yourself unsure about a component, our garage door installation team also handles replacement of worn panels and hardware on doors that don’t need full replacement yet.
Post-Storm Inspection Checklist
Storms don’t usually break a door. They finish off one that was already failing. The point of a post-storm pass is to spot what the wind, rain, and debris pushed over the edge, and to catch damage that would get worse the next time the door runs.
- Look for debris in the tracks. Small stones, leaves, or branches can jam a roller and take a door out of alignment. Clear debris with a soft brush or shop vacuum, not with your hands near the moving parts.
- Check for standing water at the door’s base. If the seal is compromised, water may have gotten under the bottom panel. Look for wet insulation or water lines on the panel interior.
- Listen to the door. Run it open and closed once. New grinding or straining noises usually mean debris, a loosened hinge, or a cable under extra tension. Stop and let a technician look if the noise is loud or the door moves unevenly.
- Inspect the torsion spring again. The coil doesn’t change just from weather, but a spring that was already fatigued can give up under one added cycle. Look for a visible gap or a door that suddenly feels very heavy.
- Check the opener. Modern openers from LiftMaster and Chamberlain are built to handle the occasional power surge, but a storm is the most common moment for a board failure. If the opener doesn’t respond to the remote but responds to the wall button, suspect the remote or the receiver. If neither works, it’s the opener.
- Look at the door panels for impact marks. Hail is uncommon in this area, but wind-driven debris can still ding panels. Cosmetic dents are usually easy to live with; cracked or separating panels aren’t.
- Test auto-reverse once more. Storms can move debris across the safety-eye lens line. Wipe the lenses clean and rerun the two-inch object test.
If the door won’t move at all after a storm, or moves by only a few inches and reverses, that’s a call. The problem is almost always one of the same failures we see any other time of year, and a technician can typically diagnose it the same day.
Reading the Corrosion Signals on Springs, Brackets and Roller Stems
Oceanfront humidity doesn’t rust everything at the same rate. The parts that see the most load and the least airflow go first. Here’s what to look for on the three parts that fail earliest.
Torsion Springs
A torsion spring above a door is usually black or oil-tempered steel. On a sound spring, the surface is smooth and consistent. On a spring that’s on its way out, you’ll see one or more of the following:
- Orange rust spots, especially where the coil meets the end fittings
- Pitting: small dark dents where the metal has started to break down
- A visible gap in the coil that wasn’t there, which usually means the spring has begun to break
- A painted or plated spring that’s starting to flake at the edges
Any of these findings on a torsion spring is a call-a-technician moment. Don’t probe the spring with a tool or try to oil it heavily to “slow it down.” A failed spring releases energy suddenly and can cause serious injury. The right fix is replacement by a trained technician, and we recommend addressing it before a failure rather than after.
Bottom Brackets
The bottom brackets are where the lift cables terminate. They sit low, close to the floor, and collect moisture more than any other part of the door. Rust on the bracket itself is common, but the warnings you need to see are cracks in the metal, cables that look frayed near the bracket, or bolts that have started to pull out of the door panel. Any of those is a stop sign: the cable holds the door’s weight, and a failure here can send the door out of control.
Roller Stems
Every roller rides on a stem, and the stem is where the small-scale corrosion shows up first. A clean stem shines. A stem on its way out looks orange or brown and may not spin freely when you turn the wheel by hand. Gritty, slow-turning rollers add strain to the whole door and cause premature wear on hinges and panels. Roller replacement is inexpensive and one of the most cost-effective maintenance items a homeowner can have done.
If you’re not sure whether a part is at the point of failure or just showing normal wear, our Garage Door Repair Oceanfront team can look at it. We’d rather see it a little early than a little late, and we don’t default to replacement parts when a service call will do.
Which Lubricants Work in Oceanfront Humidity, and Which Make It Worse
The wrong lubricant in Oceanfront humidity is worse than none. A product that attracts dust, holds moisture, or breaks down quickly under damp air can speed up the very failure you’re trying to prevent. Here’s what actually helps.
What Works
- Silicone spray. Light, water-resistant, and safe on plastic and metal. Good on roller bearings and hinges.
- White lithium grease. Good on low-speed, high-load points like torsion spring coils and opener rail gears (where the manufacturer specifies it).
- Garage-door-specific lubricants. Made to resist washout and hold up under damp air. Formulated for exactly this application, which is why we recommend them first.
What to Avoid
- WD-40 as a primary lubricant. It’s a water displacer, not a long-term lubricant, and it evaporates too quickly to protect moving parts in damp air.
- Heavy motor oil. Attracts dust and grit, which turn into grinding paste on rollers and hinges.
- Vegetable or cooking oil. Feeds mold, attracts pests, and goes rancid. Never on a garage door.
- Petroleum-based sprays on painted springs. Can lift the coating and expose bare metal underneath.
If you’re not sure what to use on a specific part, ask before you spray. Opener manufacturers label their lubrication recommendations in the owner’s manual, and LiftMaster and Chamberlain both publish specific guidance for their products. When in doubt, the safest call is to have a technician apply the right product during a service visit rather than experiment on your own.
The Stop Signs: When a Checklist Item Means Call a Technician
A maintenance checklist is only useful if you know when to stop. Some findings are fine to address yourself (a loose hinge bolt, a dirty weather seal). Some are genuinely dangerous and belong with a trained professional. Here’s the dividing line.
Call a Technician for These
- Broken or failing torsion spring. The spring carries the door’s weight and can cause serious injury when it fails. Never adjust, remove, or wind a torsion spring without proper training and tools.
- Frayed or snapped lift cable. Cables transfer the door’s weight to the bottom brackets. A frayed cable can snap under load.
- Cracked or loose bottom bracket. A bracket failure can send the door out of the tracks.
- Door that fails the auto-reverse test. A door that closes on an object without reversing is a hazard.
- Door that fails the balance test. If the door drops on its own, the spring system is out of balance and shouldn’t be adjusted by a homeowner.
- Opener that won’t respond at all. Electrical diagnosis on an opener board is best done by someone who works on them regularly.
- Door off its tracks. Even a small derailment stresses hinges and cables, and the door shouldn’t be opened until it’s reset.
Safe for a Homeowner to Handle
- Tightening loose hinge and track bracket bolts
- Cleaning tracks of debris with a soft brush
- Replacing a torn bottom weather seal
- Lubricating hinges, rollers, and spring coils with the products above
- Wiping photoelectric eye lenses clean
- Replacing the opener remote battery
You’ll notice a pattern: the items on the first list involve springs, cables, brackets, and electricity. The ones on the second involve bolts, seals, and sprays. If a repair requires tools beyond a wrench and a screwdriver, or if it’s near a loaded spring or cable, it’s a job for a technician. Our technicians have up to 10 years of experience with these systems, and we’re trained on the parts that fail most often in Oceanfront homes.
Common Mistakes to Avoid
- Greasing the tracks. Tracks are guides, not bearings. Greasing them causes rollers to slide instead of roll, which throws the door out of alignment and adds strain to the opener.
- Using WD-40 as a long-term lubricant. It displaces water and then evaporates. What’s left behind is nothing, and the parts go right back to grinding.
- Adjusting the torsion spring yourself. The most serious injuries in this trade come from homeowners attempting spring work. A loaded torsion spring holds enough energy to break bones. Leave it to a trained technician.
- Ignoring a rust spot on the spring or bracket. A little rust today is a weak point next month. In Oceanfront humidity, the small signs turn into big failures faster than they would inland.
- Skipping the auto-reverse test. The test takes 30 seconds and catches the single most dangerous failure mode on a garage door. Do it every quarter, not every spring.
- Running the door with a failing spring. Every cycle on a weakened spring adds stress. The door needs to be opened to get the car out, but a door that feels heavy or sounds labored should be checked before some other part fails next.
- Assuming the opener is the problem. Most “my opener is broken” calls turn out to be a door issue (spring, roller, or track) that the opener is straining against. Diagnosing the actual cause saves time and avoids a replacement you don’t need.
See the difference
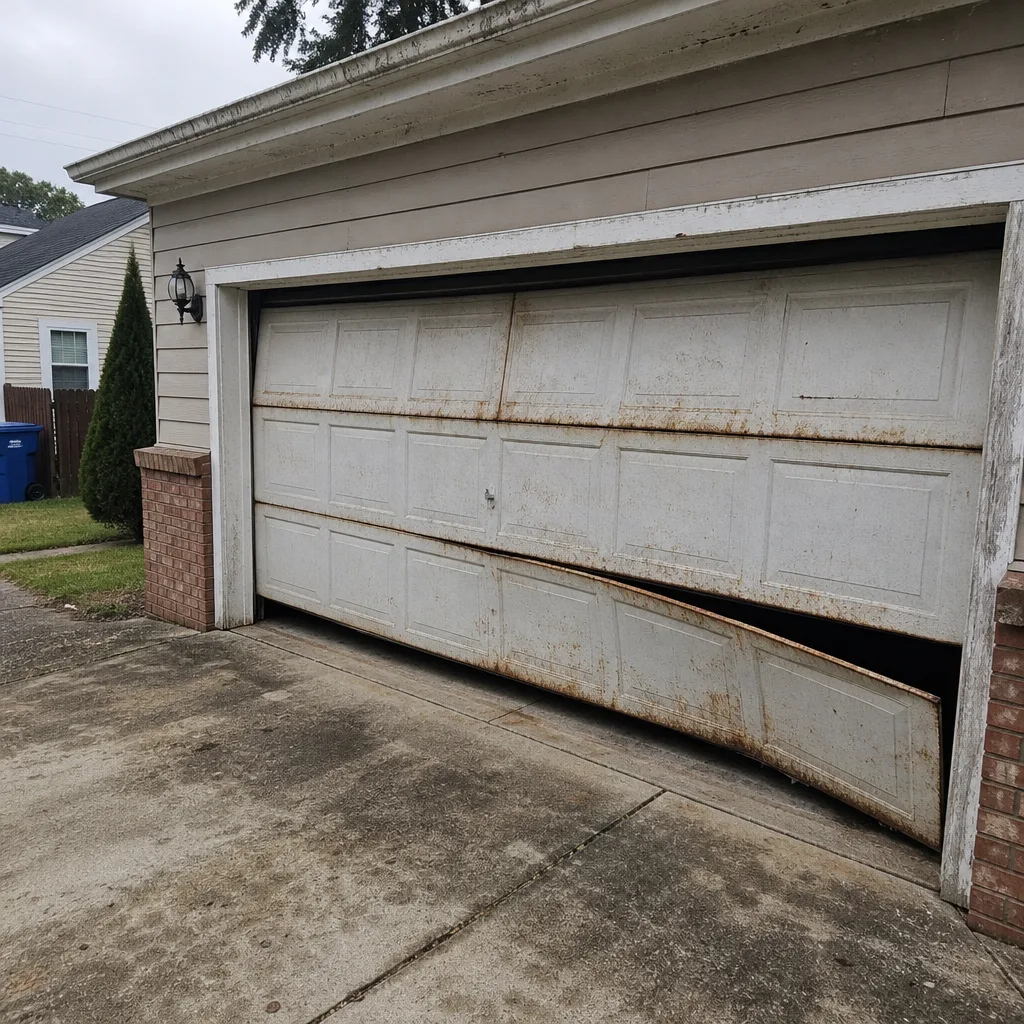 Before
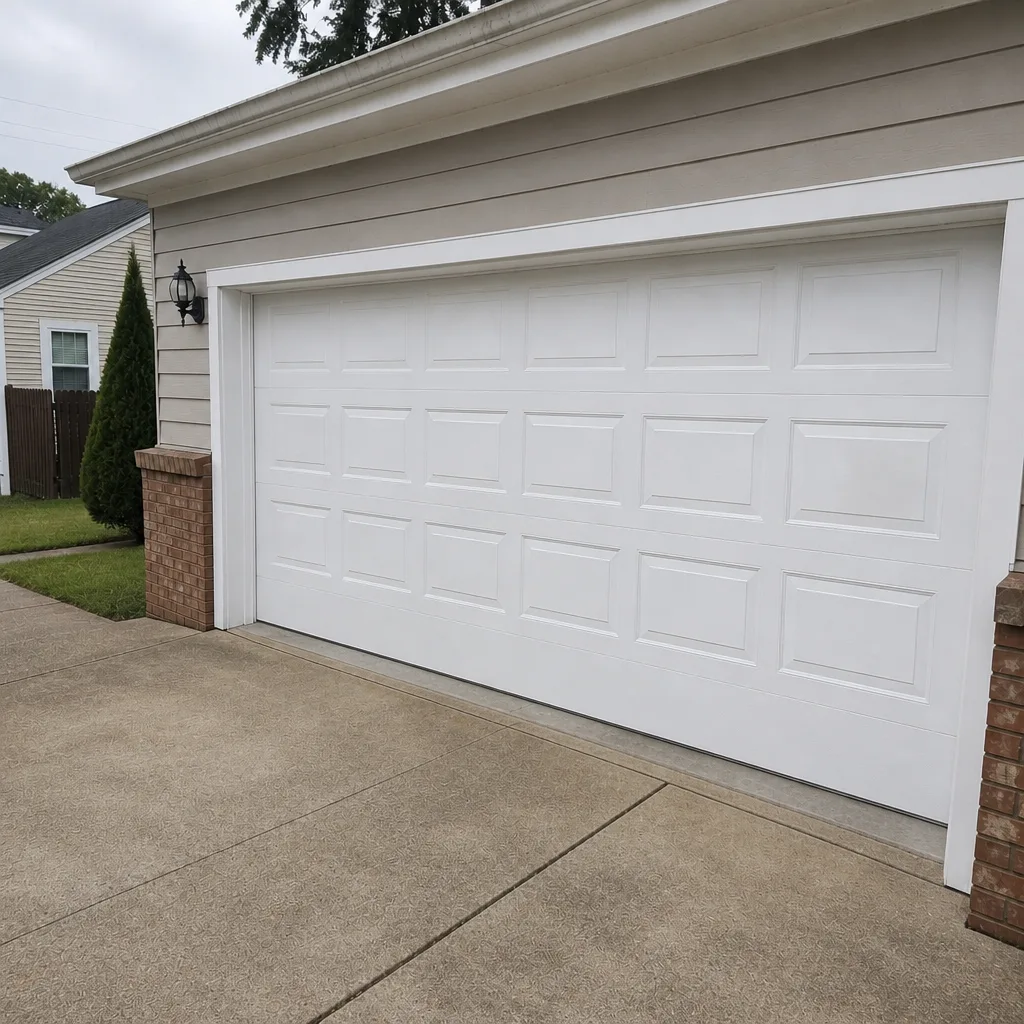 After
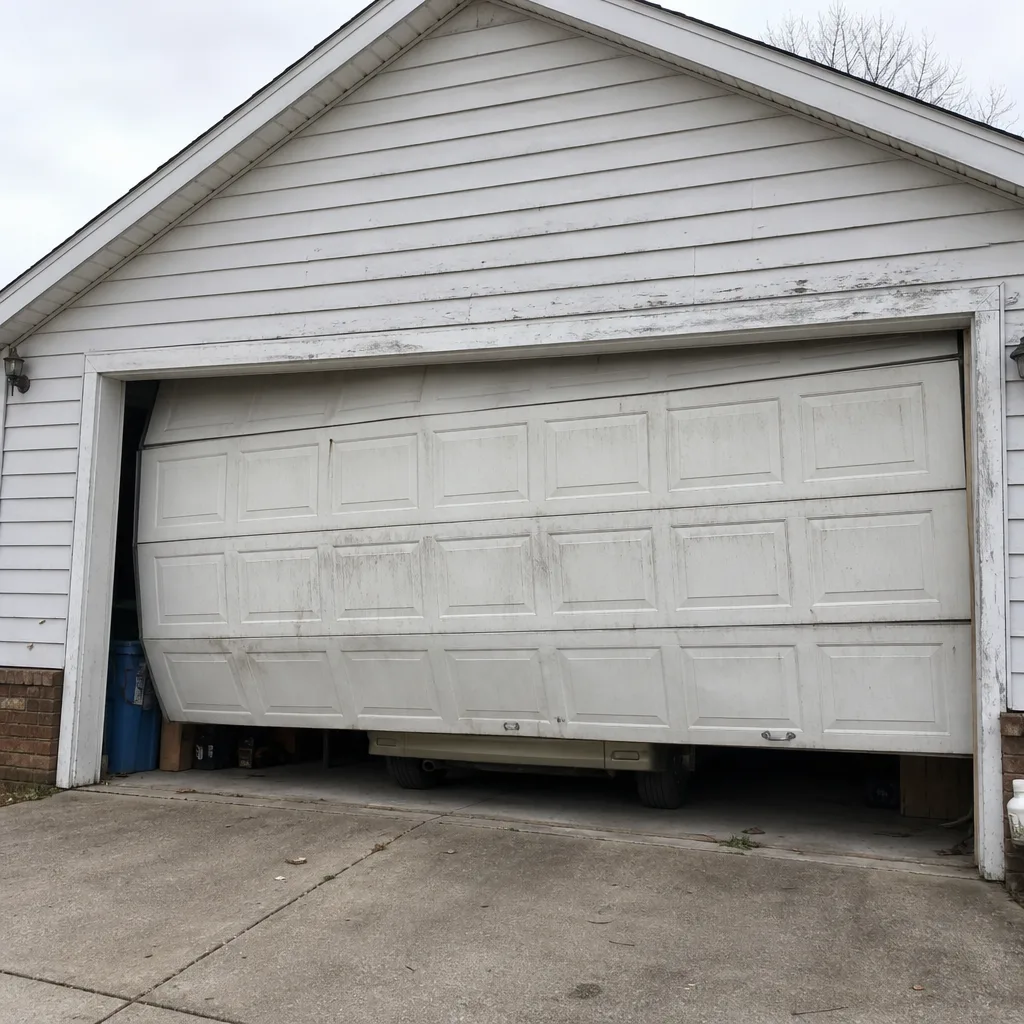 Before
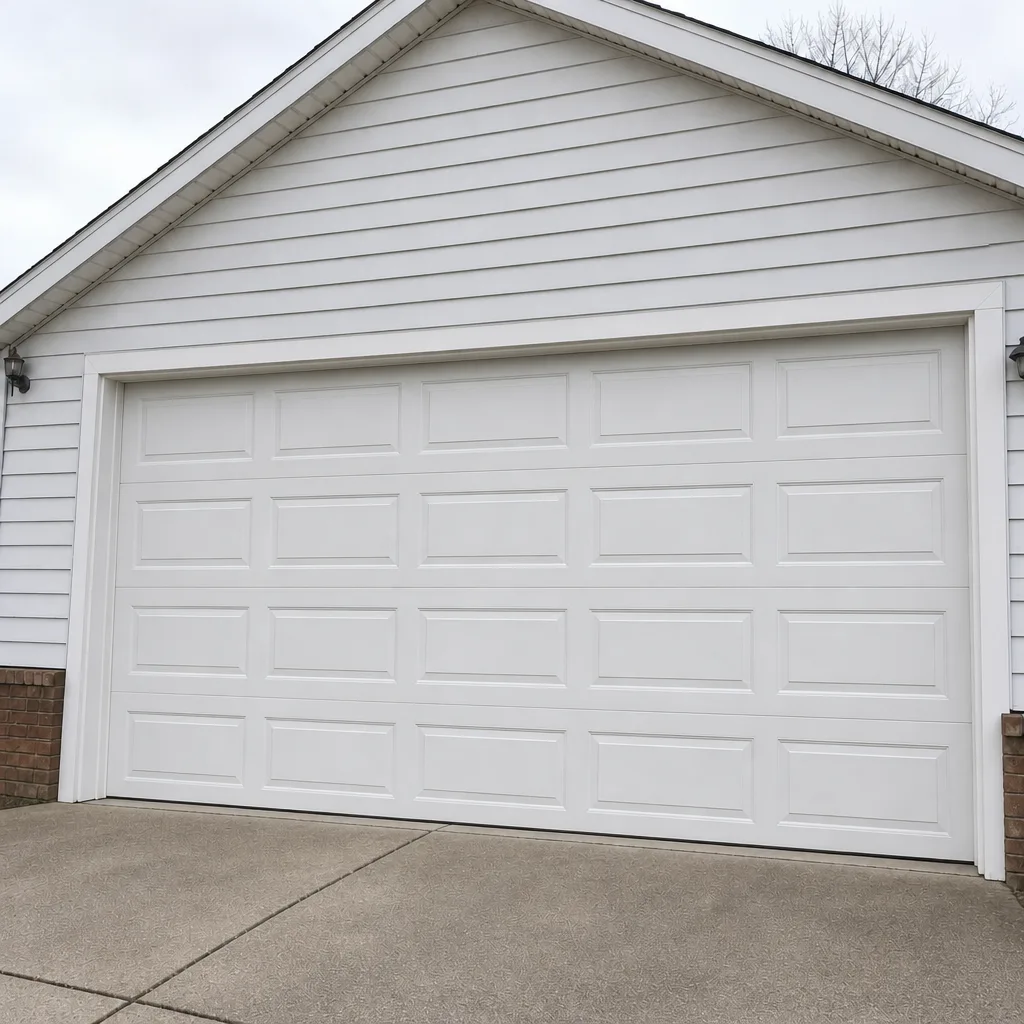 After
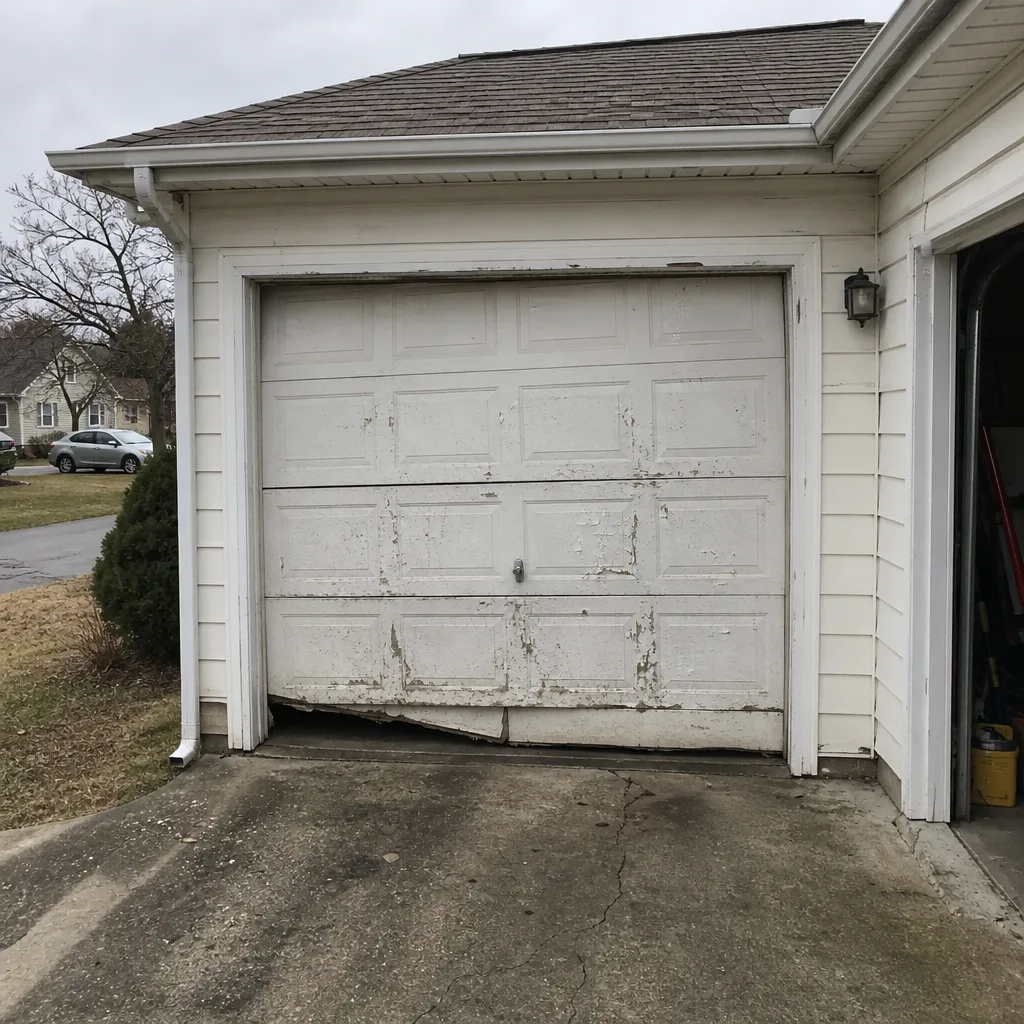 Before
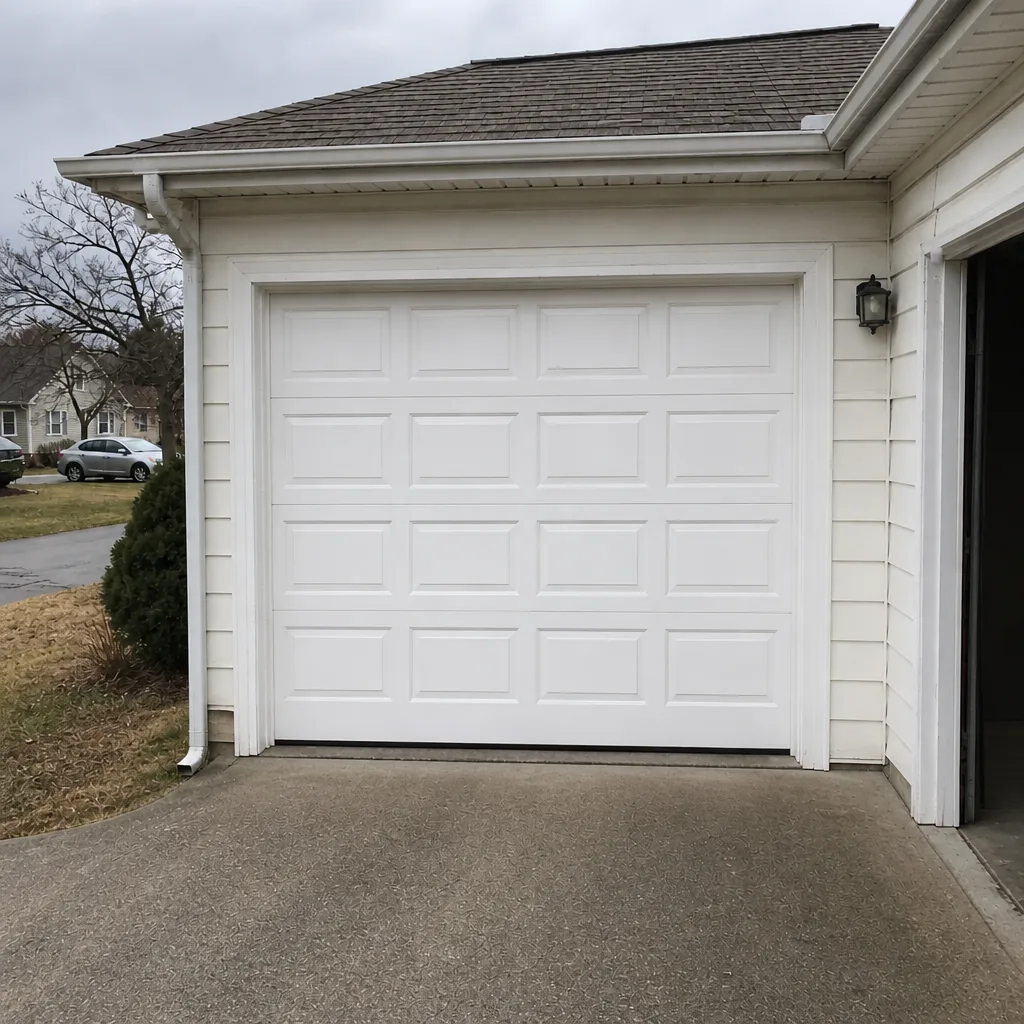 After
When to Call a Professional
Call a technician the moment the checklist lands on any item in the stop-signs list. That means a spring with a visible gap or pitting, a frayed cable, a cracked bracket, a failing auto-reverse or balance test, a door off its tracks, or an opener that won’t respond. It also means any door that suddenly feels heavy, suddenly moves unevenly, or starts making a noise it didn’t make last week. Those aren’t the moments to do more diagnosis on your own. Garage Door Repair Oceanfront offers free estimates in Oceanfront, and you can reach us at (855) 337-0930. We answer 24/7, and fast dispatch from 7am to 7pm means a call outside those hours gets booked into the next opening, Sunday through Friday.
Frequently Asked Questions
A full checklist should run monthly for the visual sweep, quarterly for the balance, travel, and auto-reverse tests, semi-annually for lubrication and hardware tightening, and again after any significant storm. That schedule catches the failure sequence before it becomes a breakdown, which matters more in Oceanfront humidity because corrosion speeds up the wear on springs, brackets, and roller stems.
In our experience, the torsion spring and bottom brackets show early corrosion first, with roller stems close behind. The spring is the most consequential because it carries the door’s weight, and a rusty spring is more likely to break under a single added cycle. If you see rust spots, pitting, or a visible gap on the spring, don’t wait.
You can lubricate hinges, roller bearings, and the spring coils yourself using silicone spray, white lithium grease, or a garage-door-specific product. Avoid WD-40 as a long-term product and never put grease on the tracks. If you’re not sure what to use on a specific part, call (855) 337-0930 or book a service visit and we’ll apply the right product, which is usually faster than experimenting.
Maintenance covers tightening, lubrication, seal replacement, and cleaning. Repair covers anything on the stop-signs list: springs, cables, brackets, tracks, opener boards, and any failed balance or auto-reverse test. If a part has cracked, frayed, snapped, or stopped working, that’s repair. If it’s simply worn or dry, that’s maintenance.
Yes. We service LiftMaster, Chamberlain, Genie, Clopay, Amarr, Wayne Dalton, Craftsman, and Raynor, along with other common brands. That means we can diagnose your actual problem rather than swap in replacement parts you may not need, and we can service smart and WiFi-enabled openers alongside legacy manual systems.
For repairs, yes: emergency service is a core part of what we do, and most calls can be handled the same day. For a scheduled maintenance inspection, we’ll book you into the next opening that fits your week. Call (855) 337-0930 and we’ll tell you exactly what’s available. We answer 24/7. Fast dispatch from 7am to 7pm, Sunday through Friday.
The Bottom Line
The most reliable maintenance routine in Oceanfront is a monthly visual sweep, a quarterly balance and safety test, a semi-annual lubrication and tightening pass, and a post-storm inspection. Focus on the torsion spring, the bottom brackets, and the roller stems: those are where humidity does its first damage, and those are the parts that turn a small repair into a big one. Know the difference between a job you can handle (bolts and seals) and a stop sign (springs, cables, brackets, electrical). And when the checklist finds something your answer to is “call”, call (855) 337-0930. Garage Door Repair Oceanfront offers free estimates in Oceanfront, and we’ll diagnose the actual problem, not the easiest upsell. From a worn-out roller to a brand-new door, we handle it end to end.
Written by the team at Garage Door Repair Oceanfront.